Beginners Guide to Hand Lettering
Hand lettering, faux calligraphy, brush lettering… these are all names for the same thing- modern calligraphy! In this guide you will find tips for a multitude of fonts and styles that you can create from the comfort of your own home. I will also be giving you some tips and skills to practice in order to make the best letters as possible
Don’t have a brush pen? Thats no problem! You can use any pen, marker, or even crayon you can find!
Here are links to some of my favorite writing utensils:
There are different ways to use each tool in order to get a faux calligraphy effect.
First up, we have basic script. This should not be too hard, as it is your normal, everyday handwriting. If you have naturally not-too-neat handwriting, I recommend trying to go slow. If you don’t know where to start, use my handwriting writing as a guide!

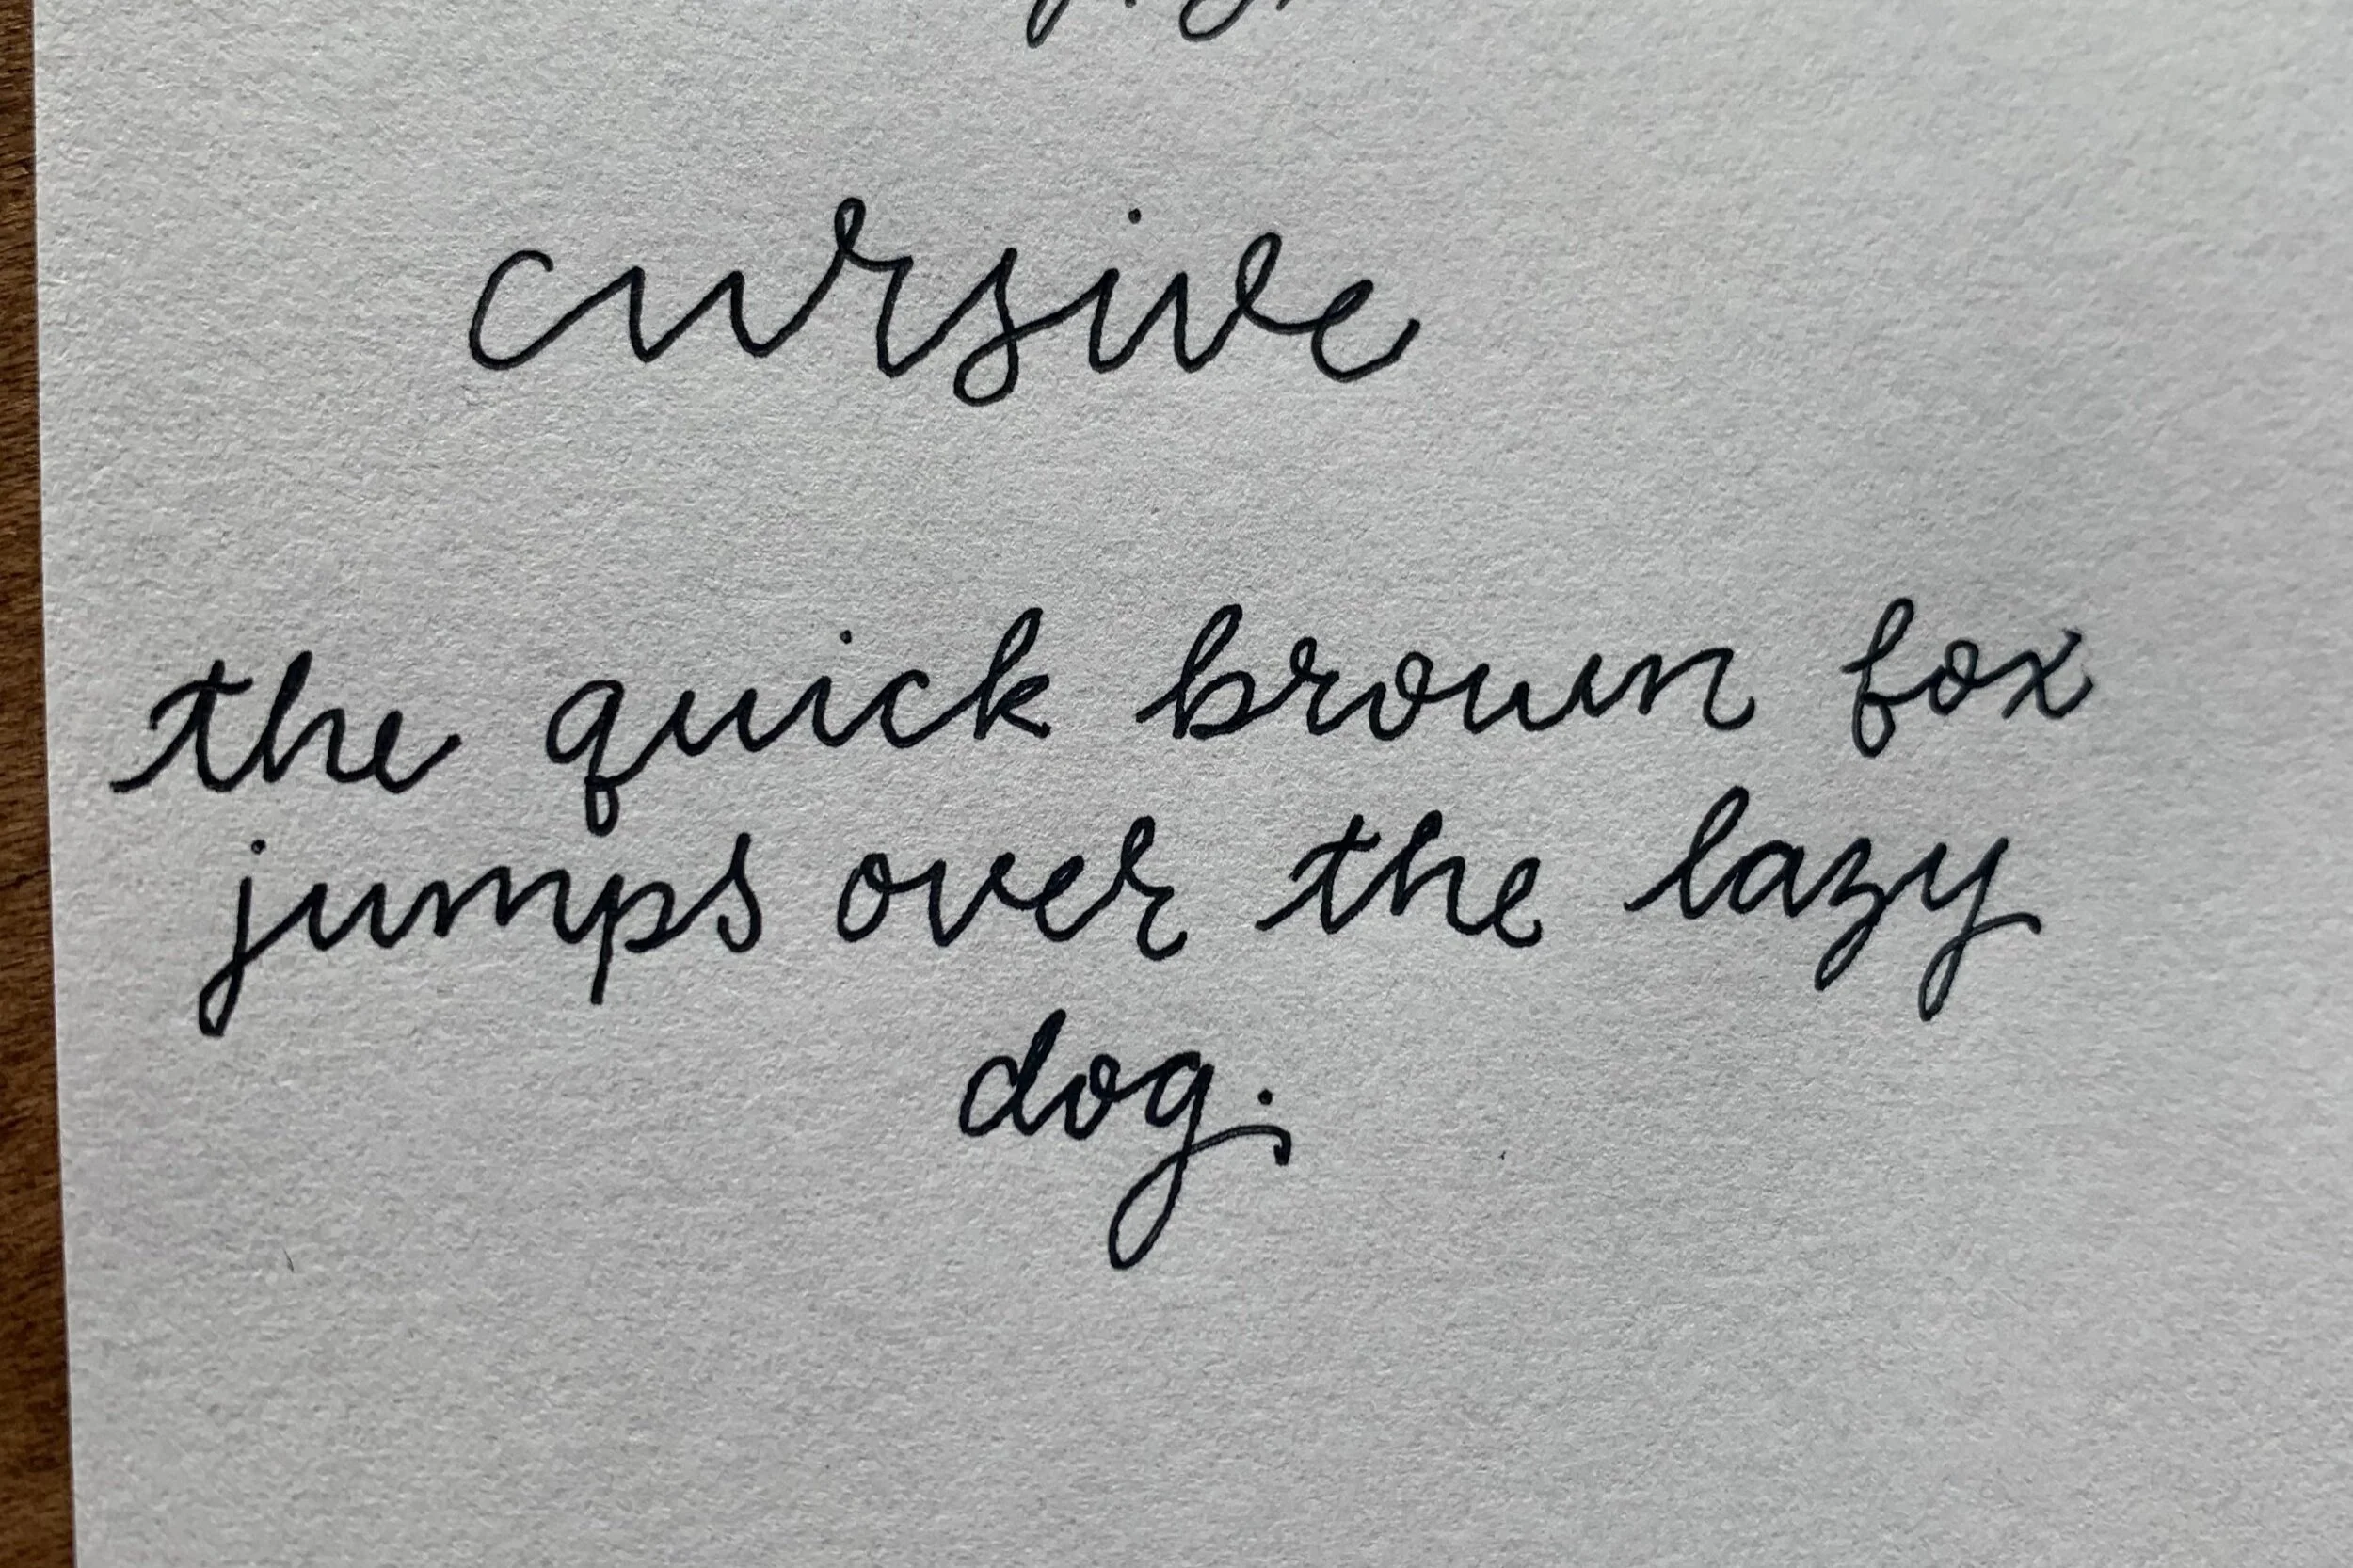
Next, we have basic cursive. Theses first two fonts are the necessities; if you don’t have a good hand on them, you won’t be able to move forward! Before moving on to markers or brush pens, you should absolutely practice in pencil and pen first. And don’t forget to master the connections of your letters! Practice writing full words before you move on.
After mastering basic script and cursive, we can move on to the fun fonts! If you need some help mastering the basics, you should read my post about it.
I will start by showing you the fonts that only require a pen.
The first fun font we can try out is tall and skinny. I love using this font to give my minimalistic journal layouts a cute twist. There are many ways to do this font; you can use all caps, a mix of caps and lowercase, or all lowercase. Because all letters are tall and skinny (hence the name), there is not much of a difference between lowercase and capital letters.

Lowercase
Another way to do this font is choosing where you want the “middle” of the letter to be- it can be at the top, the bottom, or in the actual middle. I personally like to make it at the top. If you do not know what I mean by this, I will give some examples.

Example of “top” middle vs “bottom” middle
Next, let’s try some loopy cursive. This font is really all about the connecting lines. You also must have confidence and lots of practice! It just won’t look right if you are hesitant. It also helps to write very big with this font. Mastering loopy cursive will help you to become a pro at brush and marker cursive.


Now we have a font that uses some of the same aspects of loopy cursive, but looks very different. The aspect of this font is that the connecting lines are the stars of the show. This font is minimal cursive. The letters are small but the lines are long.

With cursive, you can also add weight to the downstrokes of the letters, and then color it in. This is an easy way to have fake calligraphy.

The last fun pen font I will show you is half-bold letters. You can use lowercase or capital, and there is so much room for creativity! In the extra space you create, you can add doodles, colors, lines, or dots. A very fun but basic letter.

Now, we will move on to Crayola marker fonts. Using a Crayola marker at different pressures is what got me into hand-lettering years ago, and its pretty easy to learn. Just remember to practice, practice, practice!
First up, we have marker-capitals. This font will just get you used to using different pressures and angles with the marker. The hard you press, the thicker the line.

Next, we have faux calligraphy with the marker. On the down strokes, you will press harder and at a side angle to make a thicker line. You can also pick up the marker in between each letter to ensure that each letter is perfect. To show this method, I left a space in between each letter of “hello” so you can see what each letter looks like by itself.

Using the marker, you can also try all of the cursive methods that I showed you before.
Now it is time to try brush lettering! In this post, I am using the staedtler brush pen.
Using a brush pen takes some extra practice, so I will show you some little doodles to get used to the pen. The pen I am using has a thin and thick side.

In this doodles, I am showing you how using different pressures can change the thickness of fairly quickly. You must remember to be gentle with these pens so that you do not dull the pen.
Using a brush pen, you can try out all of the styles I have previously showed. As you can see, each tool give you a different effect.

Once you get the basic styles down, you can create your own fun flares! You can add highlighter, marker, or anything! You can also play with different widths and heights. It is so much fun to mix and match these basic fonts. I can not wait to see what you come up with!
Subscribe and show me what you create! Follow me on instagram and pinterest for more inspiration
Until next time,
